How to Fix a Leaky Faucet & Tub Faucet: Simple DIY Repair Guid
- By: Amer ZaghloulehUncategorizedComment: 0
A leaky faucet can be an annoying problem, especially when the drip is constant. Whether it’s in the bathroom, kitchen, bathtub, or outdoor faucet, fixing the leak is a manageable task that you can do on your own with a little guidance. In this article, I’ll walk you through how to fix a leaky faucet in different situations, from Delta faucets to two-handle faucets and even outdoor frost-free faucets.

How to Fix a Leaky Bathtub Faucet
A leaky bathtub faucet can be quite the hassle, and the last thing you want is for it to waste water. To fix it, start by:
- Shutting off the water supply to your faucet.
- Remove the handle and any trim.
- Inspect the cartridge or O-ring for damage. These are often the culprit for most leaks.
- Replace the worn parts, reassemble the faucet, and check to see if the leak stops.
If the leak continues, it could be due to a damaged valve seat, which will need to be replaced to stop the water from leaking.

How to Fix a Leaky Tub Faucet
A leaky tub faucet can be tricky, but the process is pretty similar to fixing a bathtub faucet. Here’s how I tackled mine:
- Turn off the water supply to the faucet.
- Remove the handle and trim around the faucet.
- Check the cartridge or compression valve for any visible damage.
- Replace the damaged parts, reassemble everything, and test it.
If the faucet continues to leak, the stem or valve could be corroded, which would require further attention.
How to Fix a Leaky Outdoor Frost-Free Faucet
A leaky outdoor frost-free faucet can be a common issue, especially in the colder months when freezing temperatures take their toll. Here’s what I did to fix mine:
- Turn off the water supply to the faucet.
- Remove the handle and access the valve stem.
- Check the washer or valve seat. If these parts are worn, replace them.
- Reassemble the faucet and turn the water back on to check if the leak is fixed.
For those with leaky hoses, the issue might be as simple as a loose connection or a worn-out rubber washer. Tightening the hose or replacing the washer usually does the trick.

How to Fix a Leaky Delta Faucet
Dealing with a leaky Delta faucet? Delta faucets are generally durable, but over time, parts can wear out. Here’s a simple way to repair it:
- Turn off the water supply and remove the handle.
- Inspect the cartridge or O-ring for any damage or wear.
- Replace any worn parts.
- For Delta faucets with two handles, make sure both handles are properly aligned, and check the washers or cartridges for any wear.
A quick fix is usually all it takes, but if the leak persists, you may need to consult Delta’s customer support.

How to Fix a Leaky Faucet with Two Handles
If you have a faucet with two handles, fixing the leak requires a bit more attention to detail. Here’s how to go about it:
- Turn off the water supply to the faucet and cover the drain to avoid losing any small parts.
- Unscrew and remove both handles.
- Check the washers and cartridges for wear. Replacing these often solves the leak.
- Reassemble the faucet, turning the water back on to test for any further leaks.
Leaks in two-handle faucets are often due to old washers or a worn-out cartridge, so replacing those parts should do the job.

Conclusion
Fixing a leaky faucet doesn’t have to be a difficult task. Whether it’s a bathroom faucet, a Delta faucet, a bathtub faucet, or an outdoor frost-free faucet, you can usually resolve the issue yourself with a few basic tools and the right parts. If you’re dealing with a leaky faucet with two handles, the process is a bit more involved, but still manageable. Remember, if you’re unsure about anything, it’s always a good idea to consult a professional plumber like Anytime Plumbing. But in most cases, these simple steps will help you stop the annoying drip and save water!
Frequently Asked Questions
To fix a leaky faucet safely at home, you typically need an adjustable wrench, screwdrivers, pliers, replacement washers or O-rings, plumber’s tape, and a small container to catch water. Having a towel and gloves can help protect surfaces and your hands during the repair process.
To identify the right replacement parts for your faucet, first determine the faucet type and brand. Check for worn components like washers, cartridges, or O-rings. Compare these parts with the original or take the damaged pieces to a hardware store for an exact match to ensure proper function and fit.
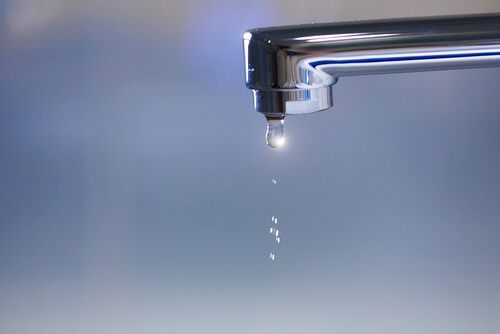
Even a slow drip can add up over time. A faucet that drips once every few seconds may not seem like much, but over a month it can waste hundreds of gallons of water. This can noticeably raise your water bill and also put unnecessary strain on your plumbing system. Fixing leaks promptly not only saves money but also prevents potential water damage around your sink.
A small faucet drip may seem minor, but worn parts can worsen and cause steady water loss. If internal components fail or pressure increases, sudden leaks may require urgent plumbing repairs.