Can You Replace an Undermount Sink Without Removing the Quartz Countertop?
- By: Amer ZaghloulehUncategorizedComment: 0
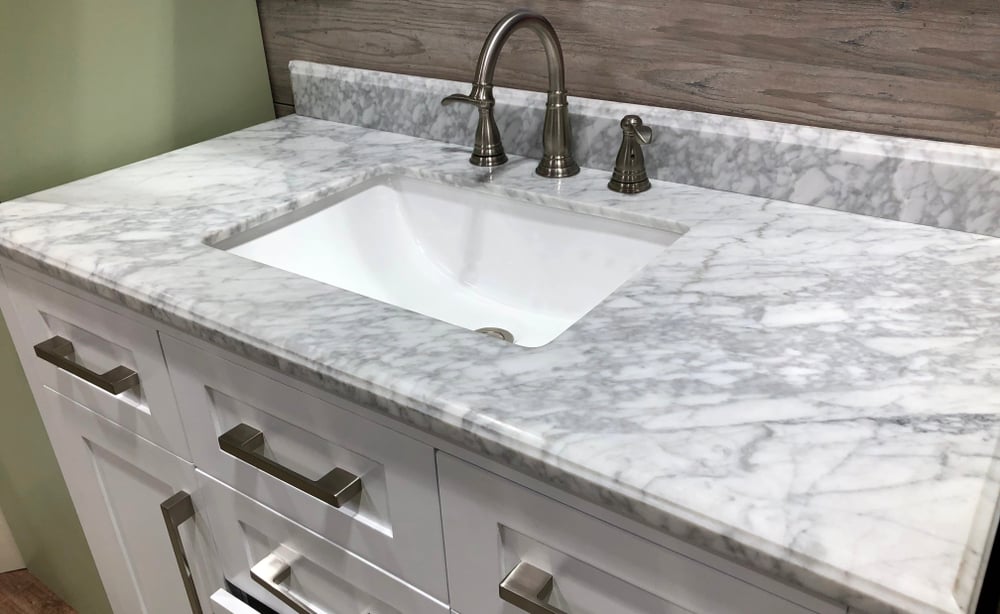
One of the major advantages to quartz kitchen countertops is the option of undermounting a cast-iron, composite, or stainless-steel sink. Not only are they visually appealing, these sinks are incredibly spacious and highly functional. With undermount sinks, you no longer have to worry about food and debris getting caught in the annoying flange of a top mounted sink. All of the material destined for the garbage disposal can be wipe directly off the quartz countertop and into the bowl.
However, when it comes time to replace an undermount sink – whether it’s damaged or simply outdated – you may be wondering if it’s possible to replace the sink without removing your entire quartz countertop. Simply put, yes, you can replace an undermount sink without having to remove the countertop.
After the plumbing and garbage disposal are disconnected, the clips that hold the sink to the countertop from below must be removed. Then, the final step is to break the silicone adhesive bond and pull the sink out. The replacement process becomes more difficult if the sink is glued to the quartz countertop with construction adhesive or epoxy cement. This is incredibly rare, but possible.
With that said, continue reading for our full breakdown on how to replace an undermount sink without removing your quartz countertop.
Supporting Your Undermount Sink
Before you can start the replacement process, it is absolutely crucial that you support the sink you intend to remove. Undermount sinks are commonly made of very heavy materials, and the last thing you want is for it to fall to the floor once it’s free from the countertop. The best option is to support from above, after you’ve removed the drain assembly and garbage disposal:
- Position a 2 by 4 piece of lumber across the top of the sink, ensuring that it is parallel to the front of the cabinet.
- Take a 12-gauge wire and wind it seven or eight times around the 2 by 4 and down through the drain. You should have approximately 12 inches of wire hanging underneath the sink.
- Wrap this wire around a ¾-inch wooden dowel that’s between six and eight inches in length. Continue wrapping until the dowel rests firm against the base of the sink.
- Once you free the sink from the countertop, lower it slowly by rotating the 2 by 4. This will unwind the wire.
Removing the Sink
It may be a no-brainer, but it’s important that everything is removed from the sink cabinet to allow for enough room to work. You’re also going to need light, in the form of a headlamp or portable lamp, to see underneath the cabinet.
- Remove the p-trap assembly. Use a pair of tongue-and-groove pliers to unscrew the slip nut and loosen one end of the trap from either the garbage disposal or drain tailpiece. Then, unscrew the opposite end and carefully remove the trap, dumping it into a bucket. Continue disassembling the rest of the assembly and place a rag in the drain pipe opening in the wall to prevent sewer gasses from entering the room.
- Disconnect the garbage disposal. Disconnect or unplug the disposal, depending on whether or not it’s hardwired. If you have to disconnect any electrical wires, make sure that you turn the breaker off first. Most disposals can be easily removed by using a screwdriver rotate the ring that holds the disposal to the drain opening. Remove and set aside.
- Disconnect the drain assembly. Use pliers to unscrew the drain tailpiece. Then, carefully loosen the mounting nut and remove by hand. To loosen the seal, tap the strainer upward with a hammer and pull the assembly out from above.
- Provide support for the sink. Reference the section above for properly supporting the undermount sink to prevent it from falling during the replacement process.
- Loosen the clips. Find the clips that are holding the undermount sink to support anchors. Then, use a screwdriver to remove the screws. In some cases, this will disengage the sink and you can remove it easily. However, it’s more likely that the sink will still be attached to the countertop with silicone.
- Cut the adhesive. Use a sharp utility knife to cut between the countertop and the sink rim, severing the adhesive from above. With silicone adhesive, you’ll be able to break the seal in only a few passes. If there’s some other type of adhesive, like construction adhesive or epoxy, you may consider consulting a professional to avoid damaging your countertops.
Wrapping It Up
After you’ve successfully broken the seal and removed the sink, you’ll want to clean the old adhesive off of your quartz countertops – especially if you’re replacing the sink with a new one. In some cases, you may want to remove the support anchors, which can be done by chipping them with a chisel or unscrewing them. If, however, the anchors are fixed in stone and secured with epoxy, it may be best to leave them in place. Or, you can always use a hacksaw to cut them level with the counter material.
Have more questions about replacing an undermount sink without removing the quartz countertop? Give us as call! We have a dedicated team of licensed, experienced, and bonded plumbers, available to tackle any plumbing installation or service you need.
Contact us today (831) 431-6593 to speak with one of our experts, receive an estimate, and start scheduling your undermount sink replacement in Santa Cruz County!


