Can a Faucet Cartridge be Repaired?
- By: Amer ZaghloulehUncategorizedComment: 0
If your faucet is dripping or leaking, you may be wondering if it’s possible to repair the faucet cartridge. Many households feature cartridge faucets, whether single- or two-handle. The cartridge is a plastic component in your faucet that is responsible for controlling the flow and temperature of the water. If the faucet cartridge is in need of repair, replacing the cartridge is the best course of action.
Replacing your bathroom faucet cartridge is a quick plumbing fix that takes less than an hour to complete with a few simple tools. Leaks are commonly caused by worn-out cartridges or O-rings. By swapping out the necessary components for replacement parts, your faucet will no longer leak at the base or near the handles.

Identify Your Type of Faucet
Cartridge faucet come in two main models: one or two-handled. One of the easiest ways to determine if your faucet is a cartridge faucet or compression faucet is to pay attention to how it feels when you shut off the water. If pushing the handle down slows the flow of water to a trickle or turns it off, you have a compression faucet. With these faucets, repairs are an entirely different process, as they do not have cartridges.
- One-handled faucets may be cartridge, ball, or ceramic disc types.
- Two-handled faucets are generally cartridge or compression faucet types.
If upon opening a two-handled faucet you find a faucet stem protruding upwards, it’s likely a compression faucet. You’ll commonly find these types of faucets in older homes.
Turn Off Water
Before you can replace your faucet’s cartridge, you want to ensure that no water is flowing. Follow these steps for shutting off the water supply to the sink you’re going to be working on:
- Identify the shut-off valve under your sink to cut off the water supply. Make sure that the valves are closed completely.
- Then, turn both taps all the way on to allow all the water to escape out of the pipes.
- Turn off the hot and cold taps.
- Plug up the drain using a traditional stopper or the stopper handle on your faucet. In a pinch, you can also use a rag to plug up the sink drain.

Detach Handle Covers
After you’ve shut off the water supply, continue the replacement process with the handles. It’s common for faucet hardware to have decorative covers, which will need to be removed. If, instead, you don’t have decorative handles and see a screw on your handle, you can disregard this step.
Though, if you don’t see a screw, the covers need to be removed. Simply pop off the plastic cap on top of each handle using a flat head screwdriver or your fingernails. This should make a screw visible where the cap used to be.
Disconnect the Handles and Nuts
With the screw now visible on the tap handles, simply unscrew it clockwise until you can pull it out. This process may vary slightly based on the set up of your particular faucet. If you have a faucet with angled handles, the screw may be located on the side of the handle and need an Allen wrench or hex key to remove.
For some two-handled faucets, you may also need to remove a retaining nut or bonnet nut with an adjustable wrench so you can access the faucet cartridge. Whereas, cartridge faucets with one handle will have the screw at the front of the handle and a bonnet nut that must be twisted off.

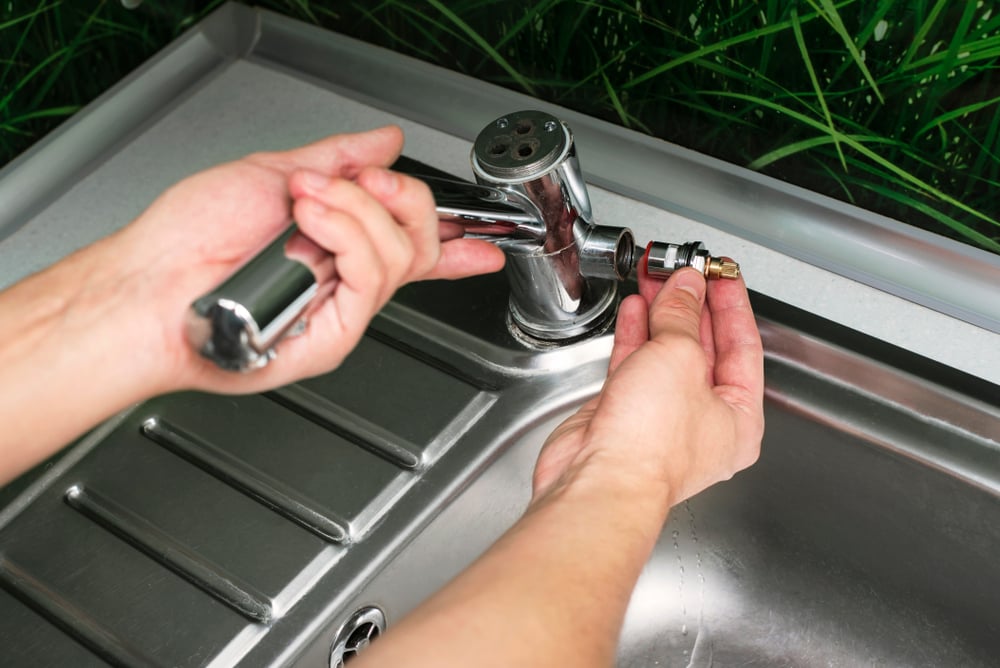
Remove the Faucet Cartridge
The cartridge looks like a plastic cylinder that has notches on the side and a stem on the top. Once you’ve removed enough pieces from the faucet, the cartridge will be visible. Gently lift the cartridge out of the faucet body and set it aside. If needed, use pliers to grip the stem and remove. If you don’t have visibility to the cartridge yet, there may be more pieces to remove.
Or, if you have difficulty removing the cartridge, a special tool may be required. Consult the manufacturer’s instructions for specifics. There also may be a retaining nut or retaining clip at the base of the handle holding the cartridge in place. This is especially common on single-handle cartridge faucets. Use a pipe wrench, adjustable pliers or water pump pliers to remove the retaining nut and then lift the cartridge straight up.

Detach O-Ring and Springs
After you’ve successfully removed the cartridge, examine the inside of the faucet. Depending on the faucet you have, there may be an O-ring – which looks like a washer or a round rubber “O.” Both this and a spring (if you see one) will need to be removed. Then, use a soft cloth to clean any debris inside the housing and a rag to soak up excess water in the handles.

Replace and Reassemble
Faucet cartridges come in many shapes and sizes. The most efficient way to find the correct part is to come prepared. Consider bringing the cartridge, O-ring, and spring with you to your local hardware store to ensure that you get the right replacement parts. Once you have the replacement cartridge, follow these steps to replace the cartridge and reassemble the faucet:
- Start by replacing any springs found in the base of the faucet.
- Cover the new O-ring in silicone grease and position it inside the faucet housing.
- If applicable, re-attach retaining clips and screw on the retaining nut.
- Apply a thick layer of plumber’s grease to the portion of the cartridge that is going to be inserted.
- For one-handled faucets, be sure to match the hot and cold water sides appropriately.
- Slide the cartridge into place, making sure it’s properly aligned with any notches.
- Re-attach the bonnet nut.
- Place the handle or handles back on the faucet and fasten them with an Allen wrench or screwdriver.
- Replace the decorative covers, if applicable.
- Open the water valve underneath the sink and slowly turn on each tap to check for leaks.
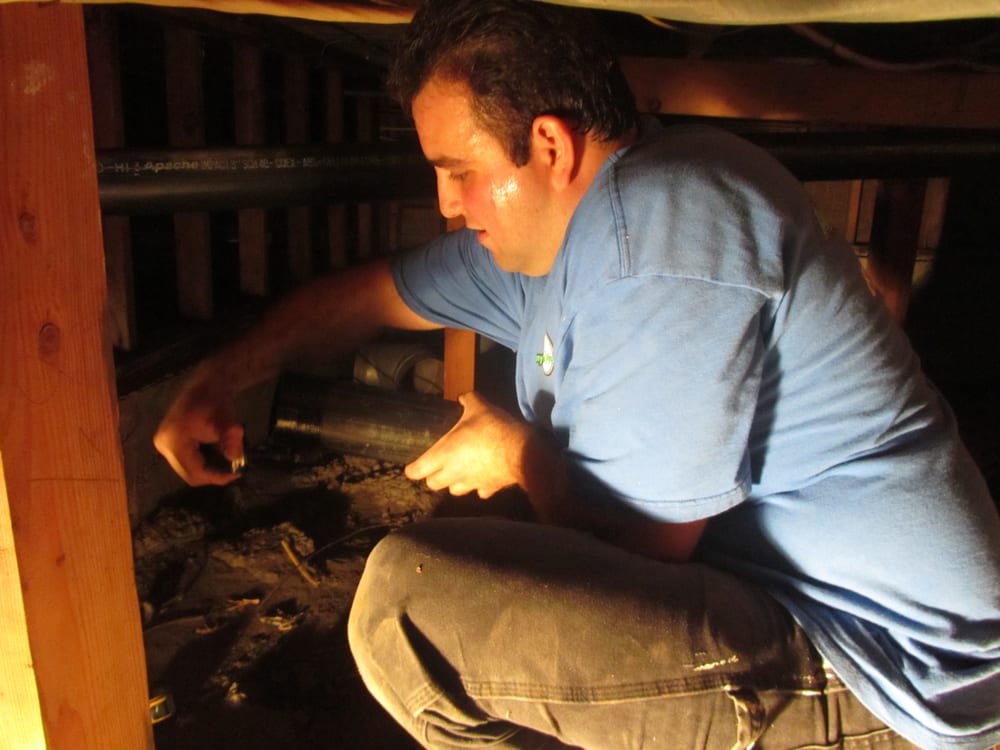
Now that you know the process of repairing a faulty faucet cartridge, why not hire a professional plumber to do all the work for you? Whether you simply have more questions about faucet cartridges or want to schedule your faucet repair, give us a call today! Our experienced, licensed, and bonded plumbers have been serving Santa Cruz County, and beyond, for many years.
Frequently Asked Questions
A faucet cartridge may need full replacement if it shows signs of severe wear, persistent leaks despite cleaning, or damage to internal components that can’t be fixed. Frequent dripping, difficulty controlling water temperature, or unusual noises are also strong indicators that a new cartridge is a better long-term solution than repeated repairs. Regular inspection can help catch issues early and prevent water waste or further faucet damage.
Signs a faucet cartridge is failing include inconsistent water flow, difficulty turning the handle, leaks around the base, dripping even when off, and sudden changes in water temperature. Noticing any of these issues often means the cartridge needs inspection or replacement to restore proper function.
A worn faucet cartridge can still cause leaks even after cleaning. Over time, the internal seals and components of the cartridge can become damaged or eroded, which prevents a proper seal when the faucet is turned off. Cleaning can remove mineral buildup and debris, but it cannot restore worn parts to their original condition. If a faucet continues to drip or leak after cleaning, replacing the cartridge is usually the most effective solution. Regular maintenance and timely replacement of cartridges can help prevent water waste and reduce the risk of further damage to the faucet.
Difficulty controlling water temperature, uneven water flow, or dripping when the handle is fully turned off often signal cartridge wear. Mineral buildup or internal damage can prevent the cartridge from sealing properly.