831-431-6593
Get an estimate
Serving Santa Cruz County:
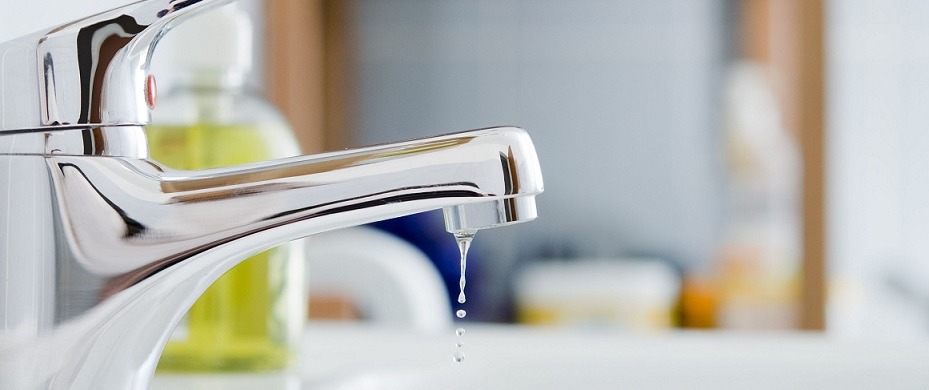
A dripping tap is not only bothersome when noticed, but it’s a waste of clean water and money. In fact, according to the EPA, one household may waste up to 10,000 gallons of water a year if they experience leaks in their plumbing. A homeowner can save up to 10% on their bill by correcting any leaks within their supply system.
Luckily, you probably won’t need the assistance of a professional plumber to fix a dripping tap. It is a relatively quick fix that won’t cost much money or cause a lot of headaches. Just take the time to follow the steps below and you should have a drip-free faucet again in no time.
Check to see what type of valve you have. There are four main type. These include:
Ball – a single handle faucet with a ball inside the body of the spout. This allows the handle to move more freely. The body also includes metal springs and rubber components. These sinks are most likely to leak due to all the components, yet are the most common to be found throughout a home.
Disc – this modern faucet type features a single handle over a wide tubular body. A pressure balance cartridge inside the body combines hot and cold water. Ceramic disks control the volume of flow while side to side rotation of the handle controls the temperature.
Cartridge – this type may come single handled or double handled. The main difference between this type and a compression one is the feel you get when you use the handles to get flow. These operate in an up and down manner to adjust the flow while side to side movement controls the temperature.
Compression – this is the oldest type of faucet. They feature separate hot and cold handles and are more prone to leaks than other types. Luckily, when there is a leak, all you have to do is change out the washer inside the compression stem.
Decipher whether your faucet type needs a rubber washer or a ceramic one. Newer types often require ceramic whereas compression spigot feature rubber ones. Once you know what type of washer is needed and what type you have, go to your local DIY store to grab the proper tools and gear.
Put on your gloves, grab the correct screwdriver and wrench, and make sure you have the right washer. To avoid any mishaps, turn off the water supply as you attempt to fix the leak.
Unscrew the cover off your spigot according to its design. Once you have removed this cap, the fitting should be exposed. Loosen the nut holding the fitting in place so that you can remove it. Remove the rubber or ceramic washer from the valve fitting and carefully put on the new one. Once completed, screw the valve fitting back into place and replace the cover to the tap. Turn the water back on to your home and check to see if your valve is still leaking. You shouldn’t experience any dripping or leaking.
If your tap continues to drip after replacing the washer, it could be due to worn-out valve seats, a damaged O-ring, or mineral buildup inside the tap. Sometimes the issue isn’t with the washer itself but with other components that control the water flow. Inspecting and cleaning the valve seat or replacing the O-ring often fixes the problem. In older taps, a full replacement may be the most reliable long-term solution.
To fix a dripping tap at home, you will need an adjustable wrench, a set of screwdrivers, replacement washers or O-rings, plumber’s grease, and a cloth or rag. These tools help you safely disassemble the tap, replace worn parts, and reassemble it without causing leaks.
A leaking tap may seem minor, but even a slow drip can add up over time. A single tap that drips once every second can waste hundreds of gallons of water in a month. This extra water use can noticeably increase your water bill. Fixing a dripping tap quickly not only prevents unnecessary costs but also helps conserve water. Regularly checking taps for leaks and addressing them promptly is one of the easiest ways to save money and reduce water waste in your home.
Basic repairs usually require a screwdriver, adjustable wrench, and replacement washer or cartridge. Turning off the water supply first is important, then removing the faucet handle to access internal parts that may need cleaning or replacement.
Get a no obligation, consultation by giving us a call today. Or fill out our form and we'll get back to you in email.
© 2020 ANYTIME PLUMBING, INC. - ALL RIGHTS RESERVED.